* Replace pip by more modern uv

* uv tests

* Native uv docs

* resolve merge conflicts

* resolve merge conflicts
4.5 KiB
Native uv Python and package management
This tutorial is an alternative to Option 1: Using uv in the README.md document for those who prefer uv's native commands over the uv pip interface. While uv pip is faster than pure pip, uv's native interface is even faster than uv pip as it has less overhead and doesn't have to handle legacy support for PyPy package dependency management.
Otherwise, similar to Option 1: Using uv in the README.md , this section guides you through the Python setup and package installation procedure using uv.
In this tutorial, I am using a computer running macOS, but this workflow is similar for Linux machines and may work for other operating systems as well.
1. Install uv
Uv can be installed as follows, depending on your operating system.
macOS and Linux
curl -LsSf https://astral.sh/uv/install.sh | sh
or
wget -qO- https://astral.sh/uv/install.sh | sh
Windows
powershell -c "irm https://astral.sh/uv/install.ps1 | more"
Note
For more installation options, please refer to the official uv documentation.
2. Install Python
You can install Python using uv:
uv python install 3.10
Note
I recommend installing a Python version that is at least 2 versions older than the most recent release to ensure PyTorch compatibility. For example, if the most recent version is Python 3.13, I recommend installing version 3.10 or 3.11. You can find out the most recent Python version by visiting python.org.
3. Install Python packages and dependencies
To install all required packages from a pyproject.toml file (such as the one located at the top level of this GitHub repository), run the following command, assuming the file is in the same directory as your terminal session:
uv add . --dev

Note that the uv add command above will create a separate virtual environment via the .venv subfolder.
You can install new packages, that are not specified in the pyproject.toml via uv add, for example:
uv add packaging
Optional: Manage virtual environments manually
Alternatively, you can still install the dependencies directly from the repository using uv pip install. Note that this requires creating and activating the virtual environment manually:
1. Create a new virtual environment
Run the following command to manually create a new virtual environment, which will be saved via a new .venv subfolder:
uv venv --python=python3.10
2. Activate virtual environment
Next, we need to activate this new virtual environment.
On macOS/Linux:
source .venv/bin/activate
On Windows (PowerShell):
.venv\Scripts\activate
3. Install dependencies
Finally, we can install dependencies from a remote location using the uv pip interface:
uv pip install -U -r https://raw.githubusercontent.com/rasbt/LLMs-from-scratch/refs/heads/main/requirements.txt
4. Run Python code
Finalizing the setup
Your environment should now be ready to run the code in the repository.
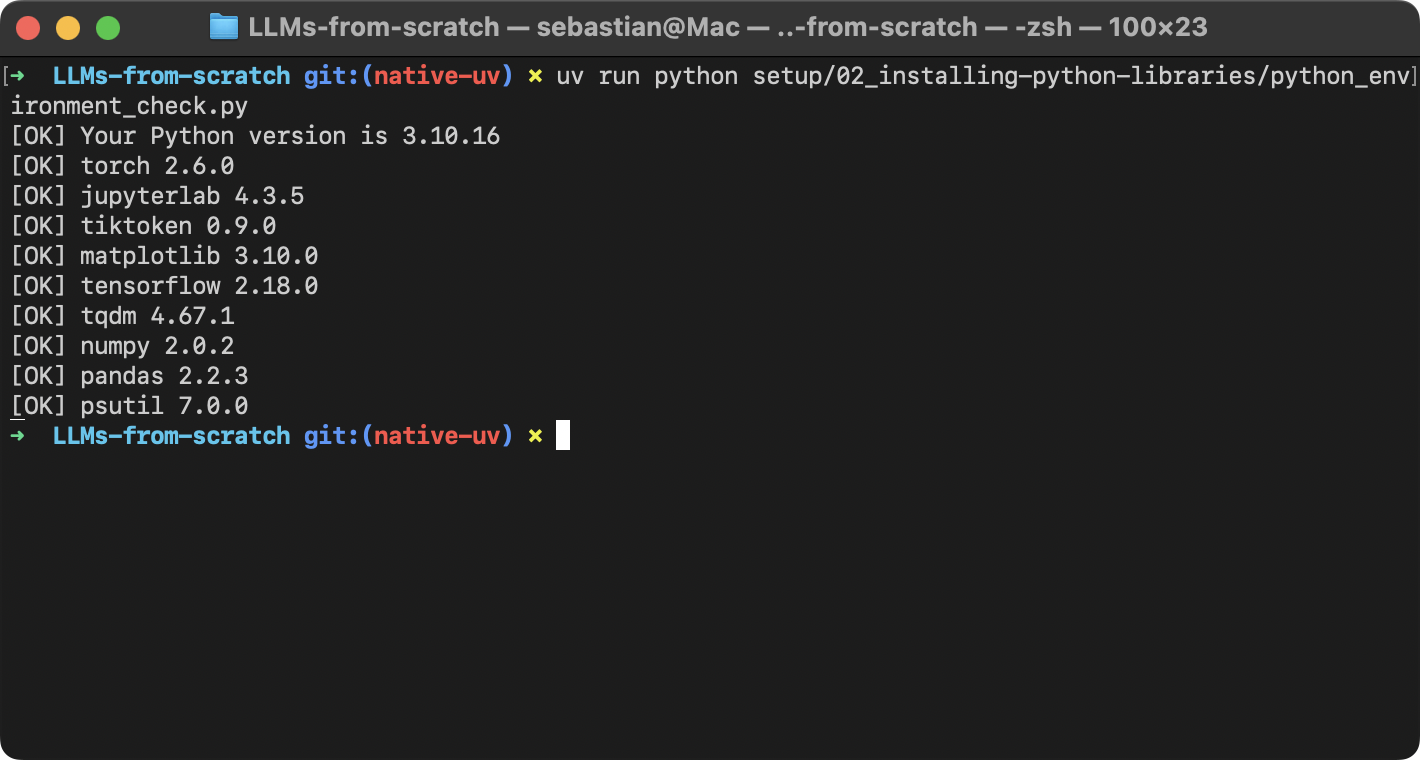
Optionally, you can run an environment check by executing the python_environment_check.py script in this repository:
uv run python setup/02_installing-python-libraries/python_environment_check.py
Or, if you don't want to type uv run python ever time you execute code, manually activate the virtual environment first.
On macOS/Linux:
source .venv/bin/activate
On Windows (PowerShell):
.venv\Scripts\activate
Then, run:
python setup/02_installing-python-libraries/python_environment_check.py
Launching JupyterLab
You can launch a JupyterLab instance via:
uv run jupyter lab
Or, if you manually activated the environment as described earlier, you can drop the uv run prefix.
Any questions? Please feel free to reach out in the Discussion Forum.